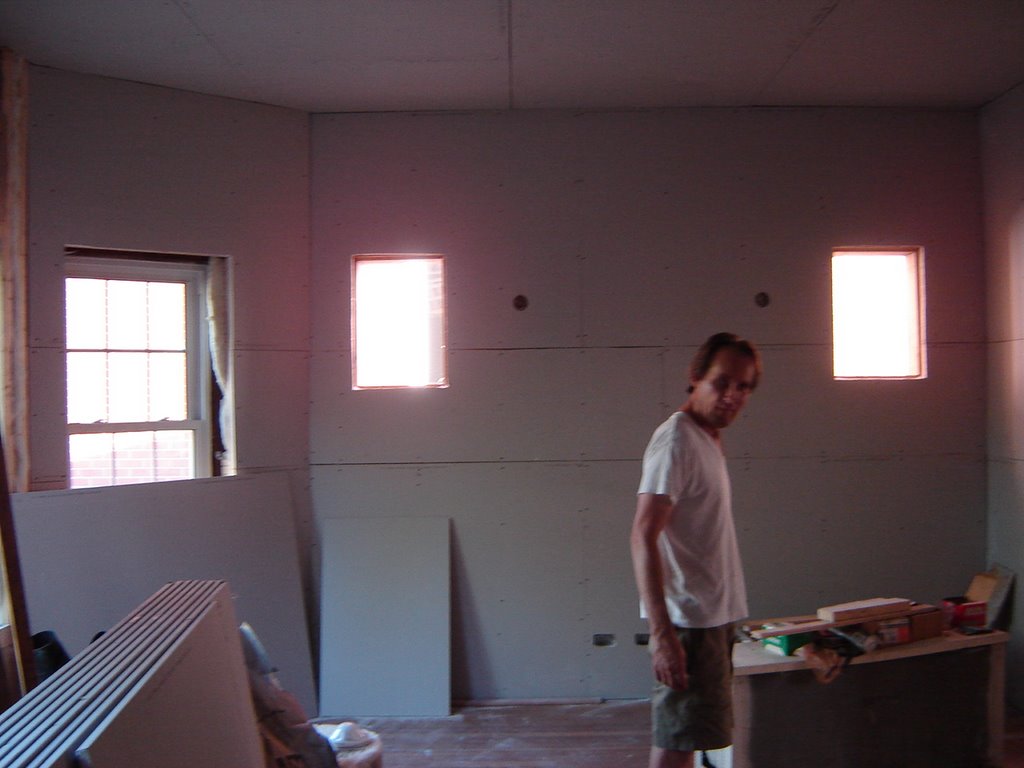
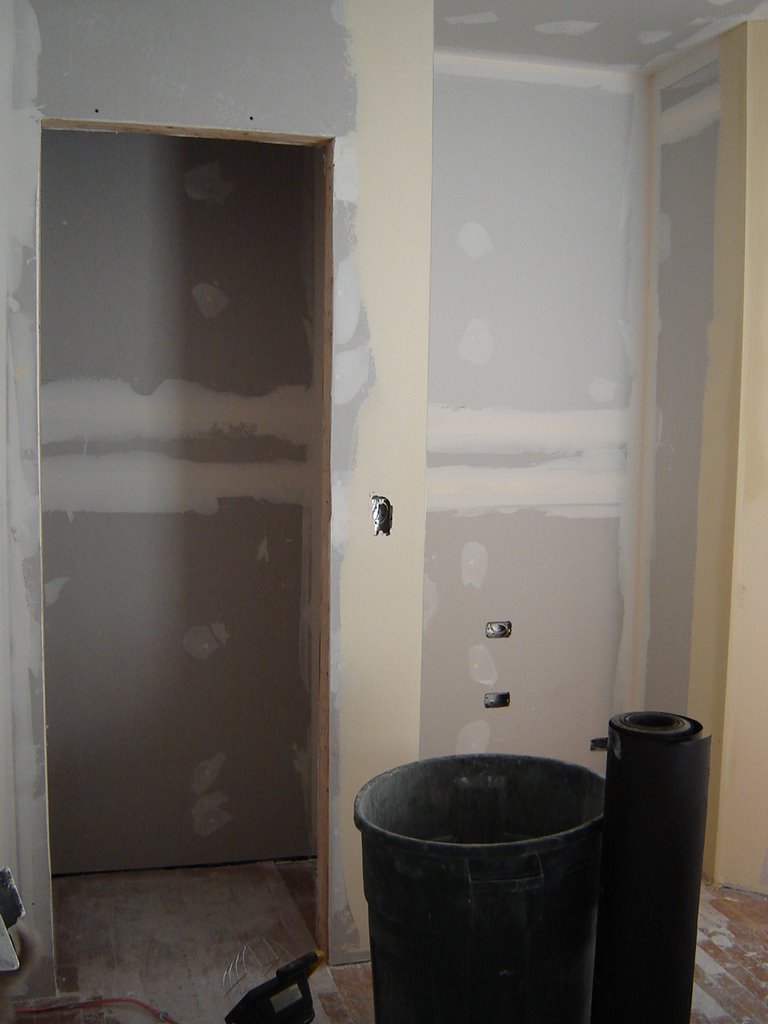
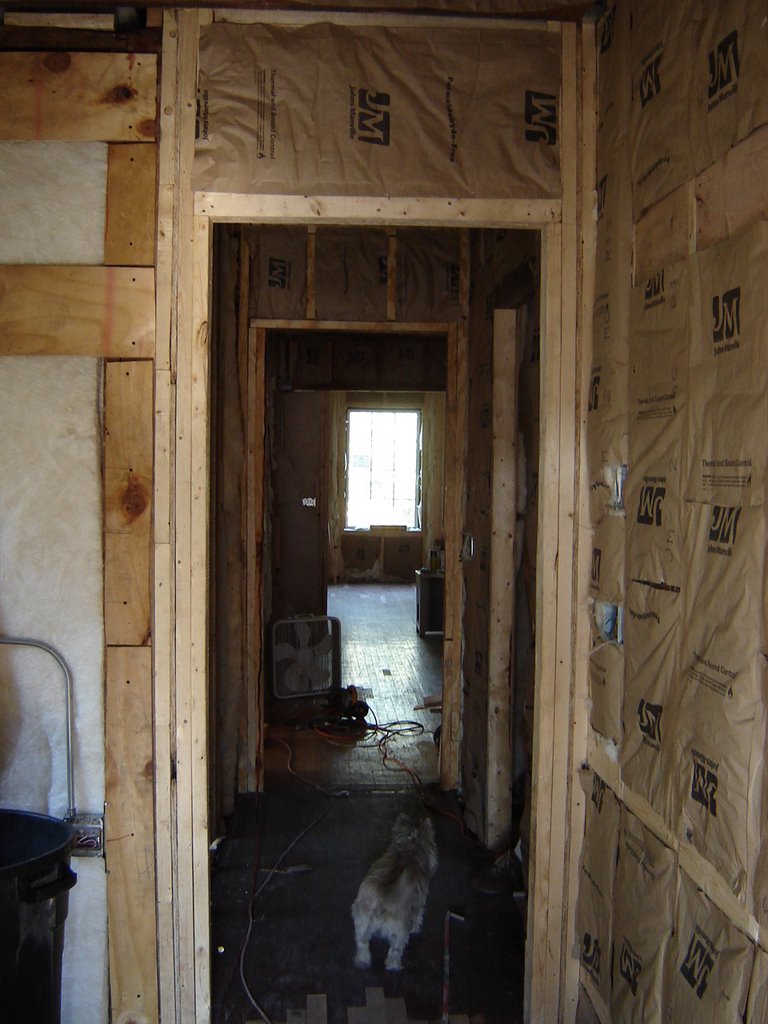
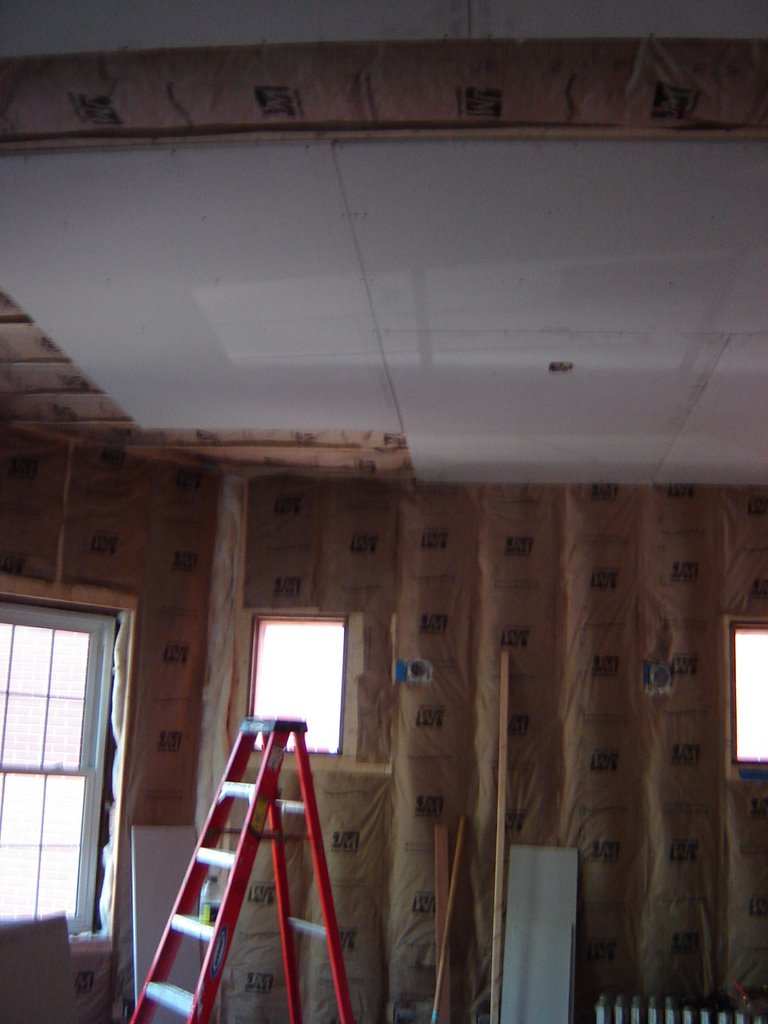
Our crew worked all weekend getting the insulation in so they could start drywalling this week. The 2-week delay by the electricians has put us under more pressure to get the apartment finished for renting out October 1st. We know it will be done by then, but it needs to be mostly done by mid-September so we can show it.

They started the ceiling today too-exciting! It's starting to feel all cozy up there now. Maybe this will help our heating bills.
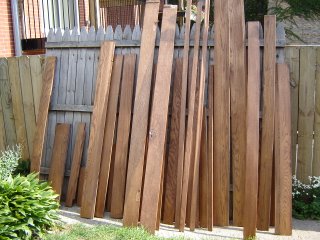
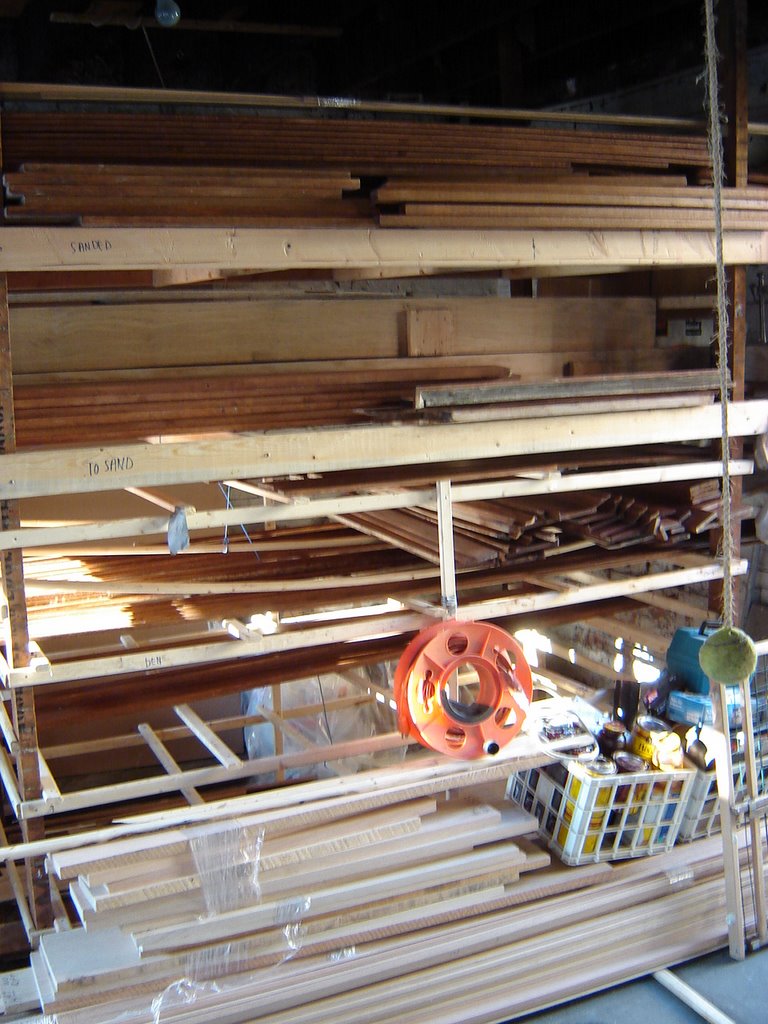
In spite of the
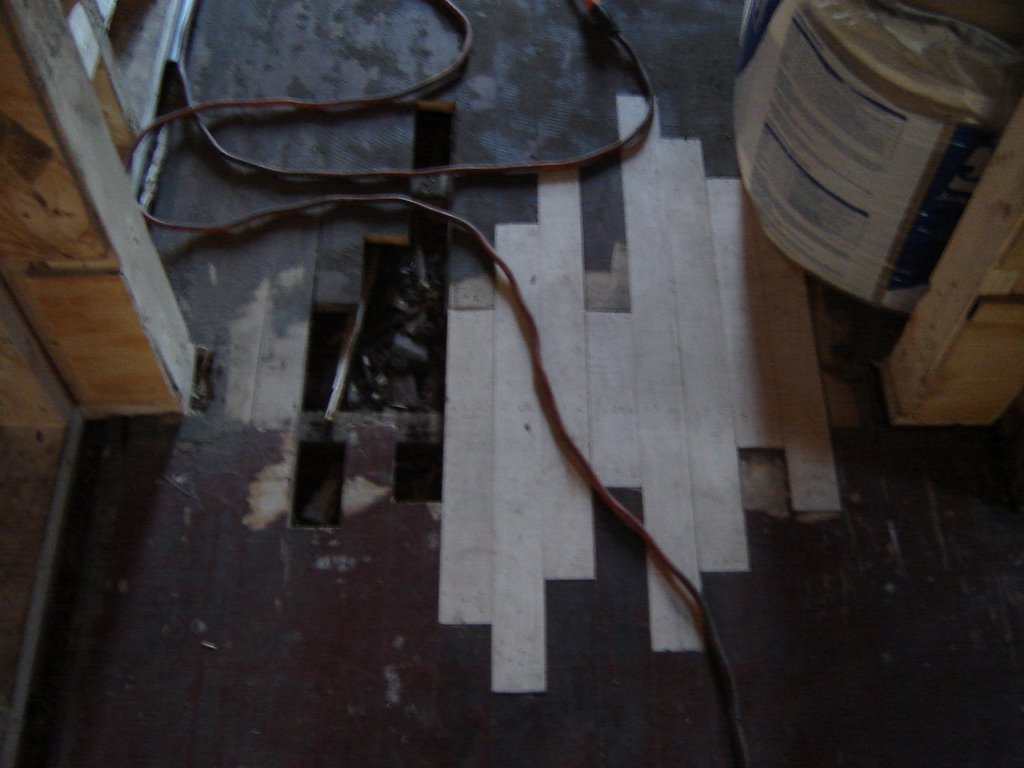
slight cave in of my morale on Saturday morning, Steve and I managed to finish sanding most of the boards that day.
And then we started staining. We use a mixture of Minwax: 3 parts Golden Oak, 1 part Red Oak, and 2 1/2 Dark Walnut. It's a warm brown that is close to what we found underneath the layers of paint.
Our contractor recommended Pratt & Lambert 38 Clear Varnish in Satin. We tested it out on a board and it looks fine. We will probably apply it after it is installed.
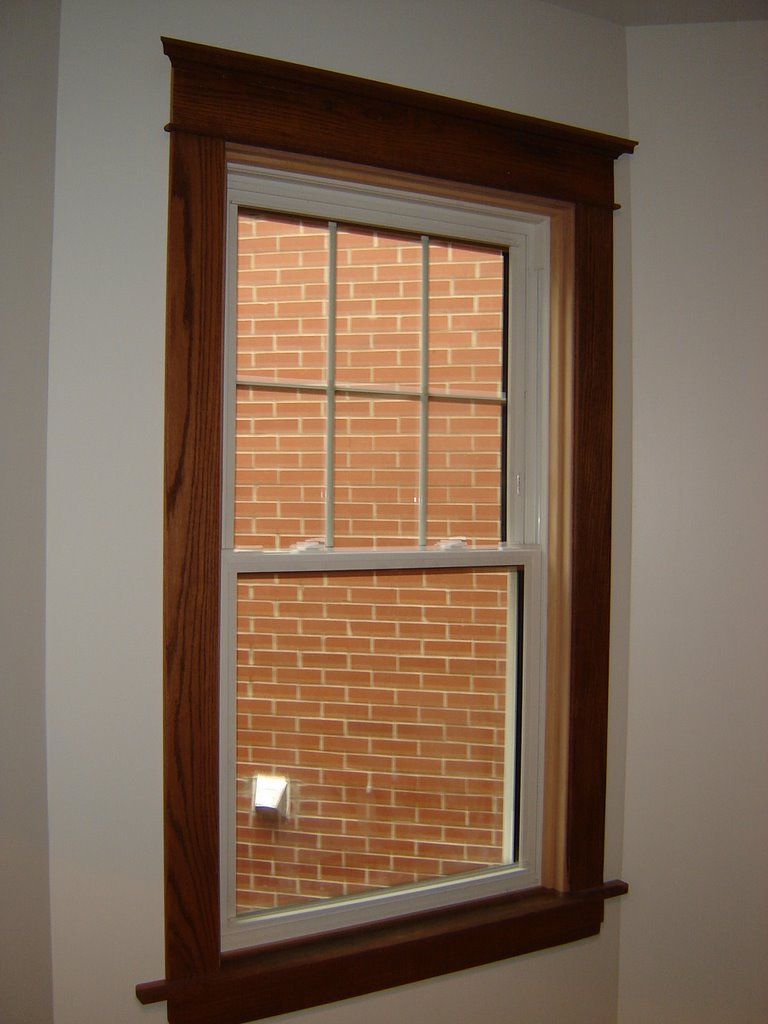
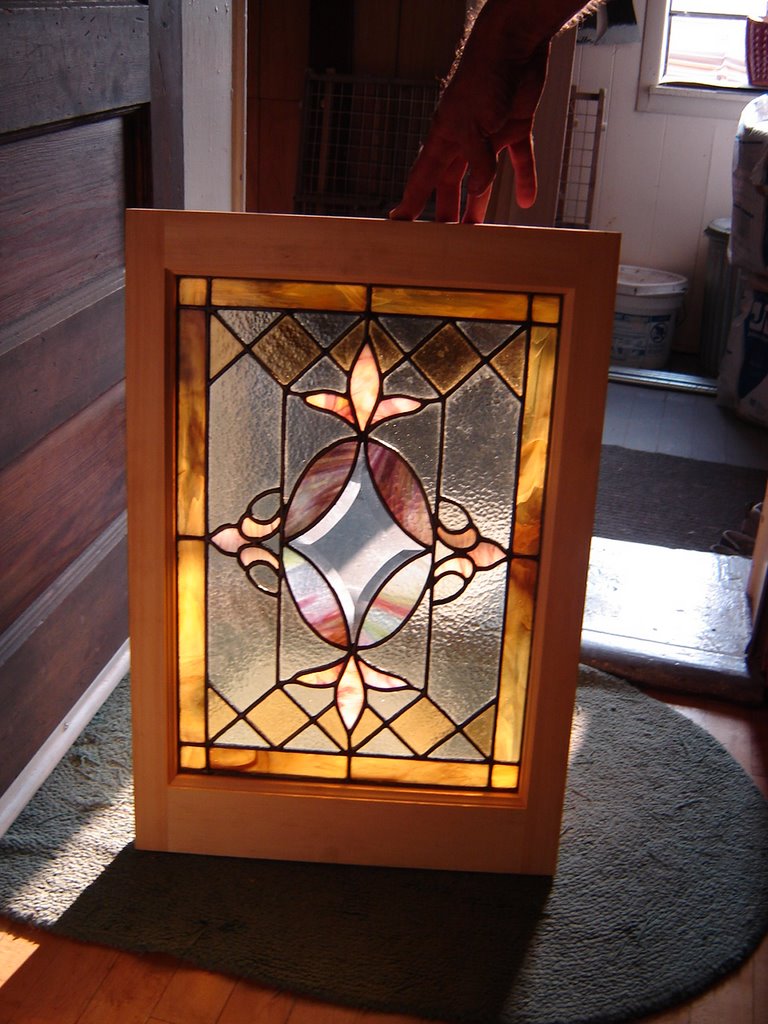
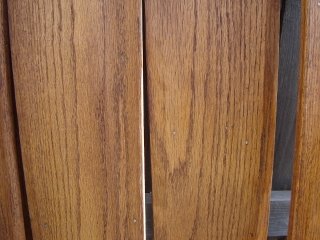 Here's a close up of a few door jambs.
 Looks pretty good for almost 100 years old. Gotta love the nice straight grain.
I'd say we are about 75% finished with staining- not bad really. I do have some miscellaneous boards I need to strip and then there are the 9 doors, which will be arriving tomorrow. But at least the doors will be something different.
When I spend hour after hour doing the same repetitive task, I start to feel like I'm being punished for something. I either need to finish something or switch tasks. Since we are on a deadline, I don't really have that luxury. But it'll build character right?
To sum up what remains: (not for for the faint of heart)*One bundle/stack of trim to be sanded and stained (these were glued boards mostly).
*One smaller stack of boards ready to stain.
*A small (hopefully) bundle from our wood stripper. These will need to be filled, perhaps glued, sanded and stained.
*9 doors will need to be filled, sanded & stained and have the hardware reinstalled.
*Strip some door hardware.
*Strip a handful of boards & 20 or so plynth blocks (just one layer of stripper-all have been heat-gunned already).
*Lightly sand and stain the replacement molding when we get it from Owl Hardwood. Some base molding, most window stops, shelving for closets & pantry etc...
Oh my, I can't believe I'm actually doing all this.

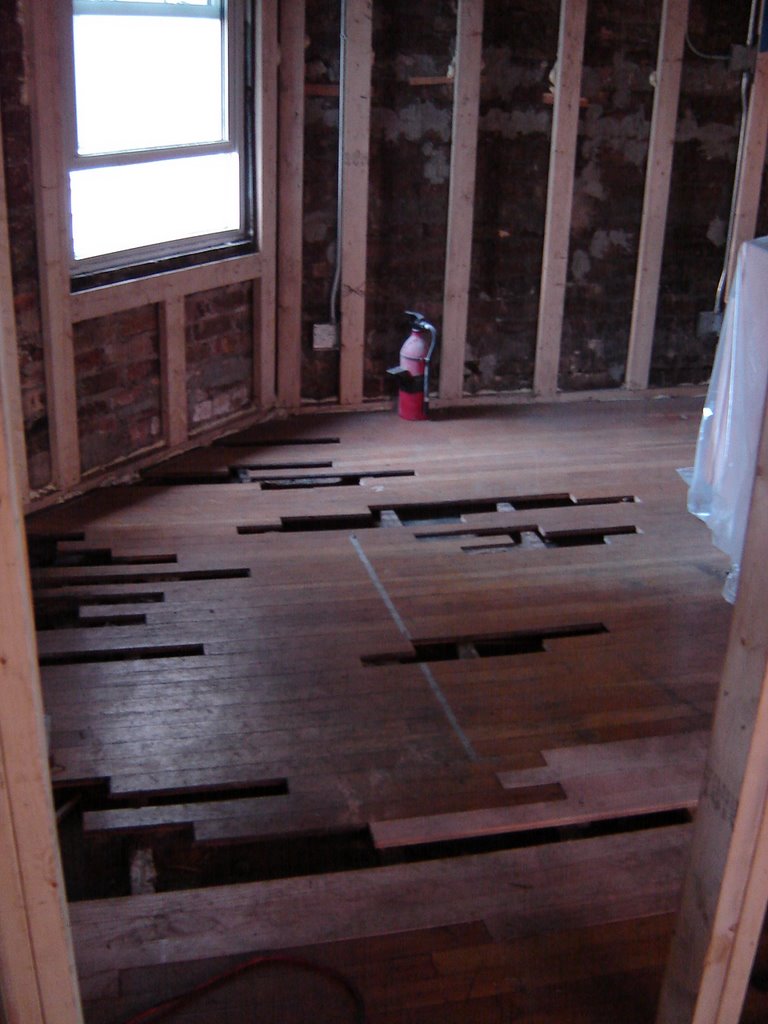
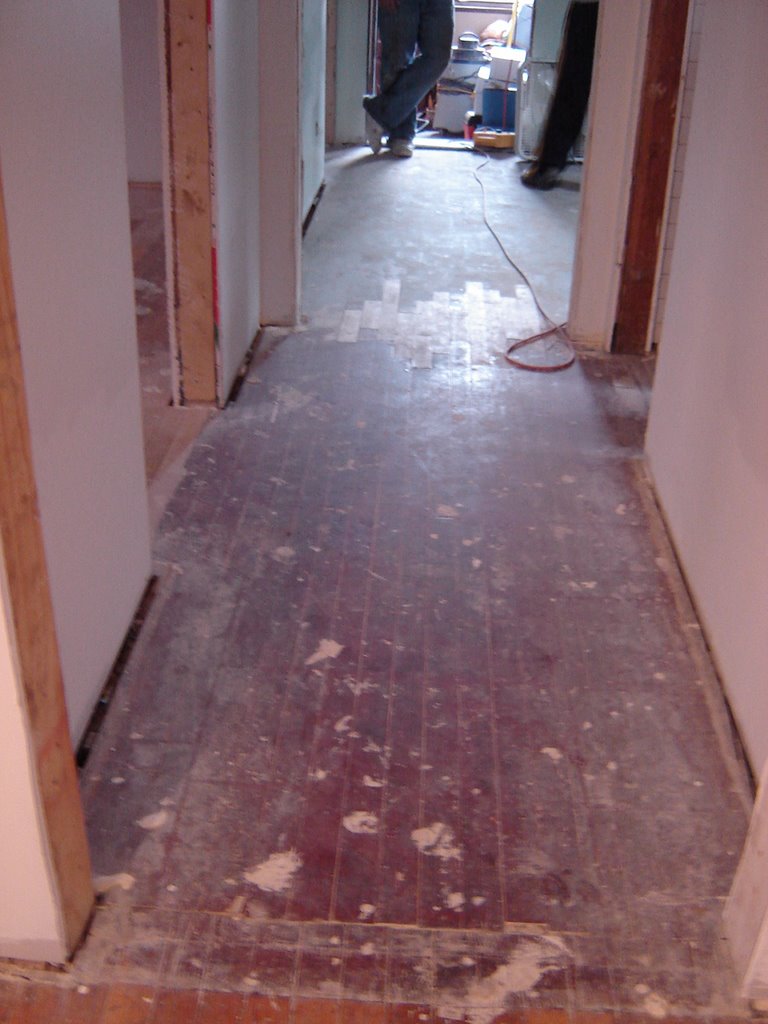
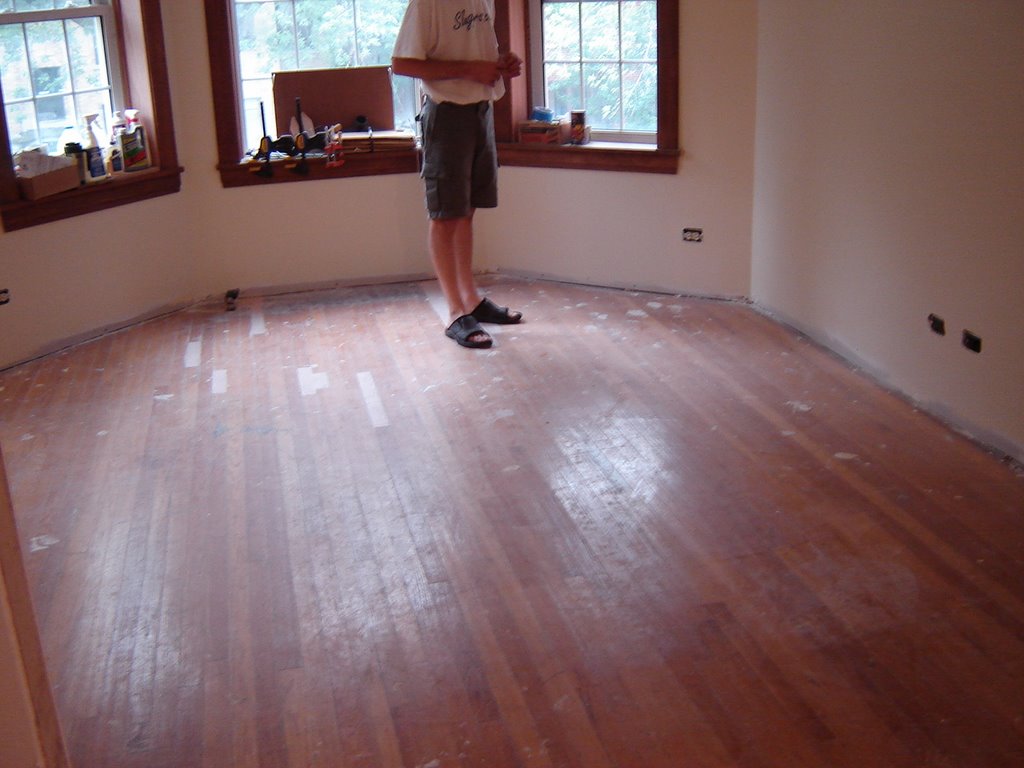 The floors were sanded and refinished on Tuesday! The bad news that I already posted about is that this is the last sanding for them.
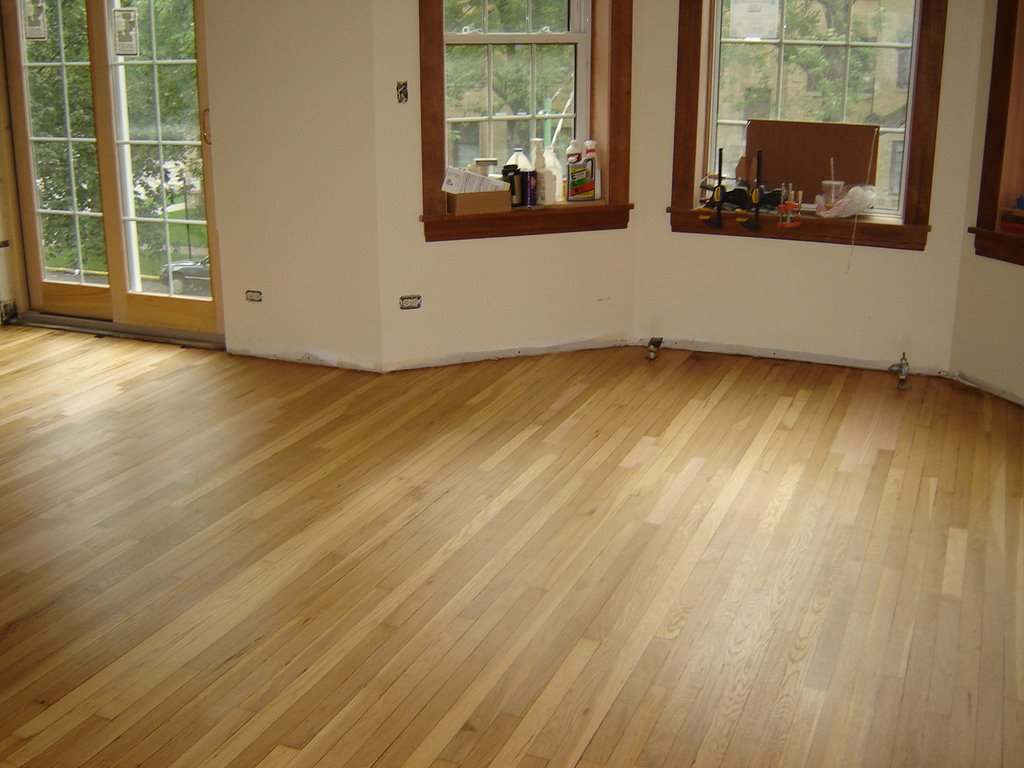


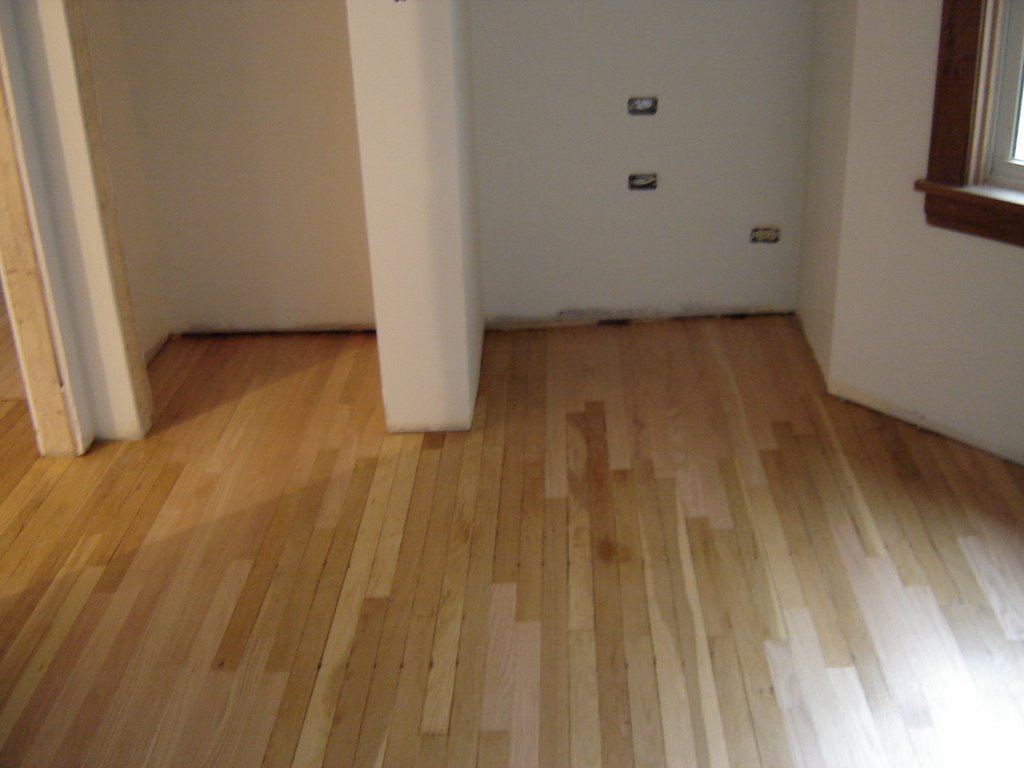 Not everything has to be brand new to be beautiful. If we felt that way, we'd be living in new construction and not a 1910 2-flat!