

We have quite a bit of trim removal under our belts now- an entire apartment full and then some to be exact. It's easier to remove trim of course, when you don't care about damaging the walls, which was the case with this project.
At left, you see me taking the first step, scoring the edges with a razor blade. I did this on all sides of every board prior to taking the next step. Wearing gloves and glasses is recommended to avoid slamming your hands or having lead paint chips fly into your eye.
At the bottom, I scraped up the heavy paint build up to help release the board and avoid cracking it from the pressure or the paint wedging it in place.

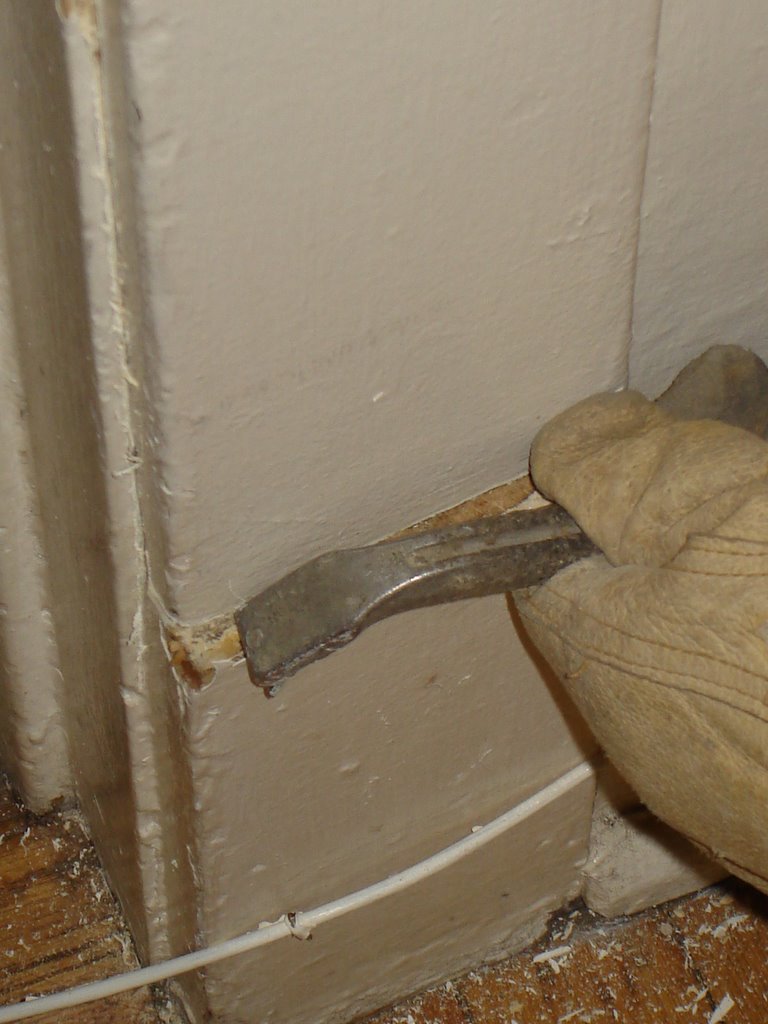
Then I carefully edge the small 8" mini pry bar into the edge of the trim. Sometimes a few gentle taps with a hammer help or using another pry bar to hold it. The key here is not to force anything.

Then I move up and down the board edging it out slightly more at a time evenly up and down the board.
We only cracked a few boards, which was really amazing.
The key, in my opinion, is to not force the wood and to gradually loosen it and scraping paint when needed.
And sometimes you do have to pull out the big guns for those stubborn nails.
We used larger pry bars on the base moulding. The base moulding was easier to remove because there is less scoring. After an hour of scoring paint seams, I was pretty beat...but that was just the beginining of the day.
If you're lucky, you'll end up with a pile like this and you'll then get to remove all the nails and label all the boards.
Stay Tuned: We are getting about half of our wood back tomorrow from Darrell the stripper guy!
1 comment:
Great progress, you guys! I find it so hard to be patient with the prybar when I've just spend an hour scoring through layers of paint.
I'm looking forward to seeing how the trim sent to the stripper guy turns out.
Post a Comment