
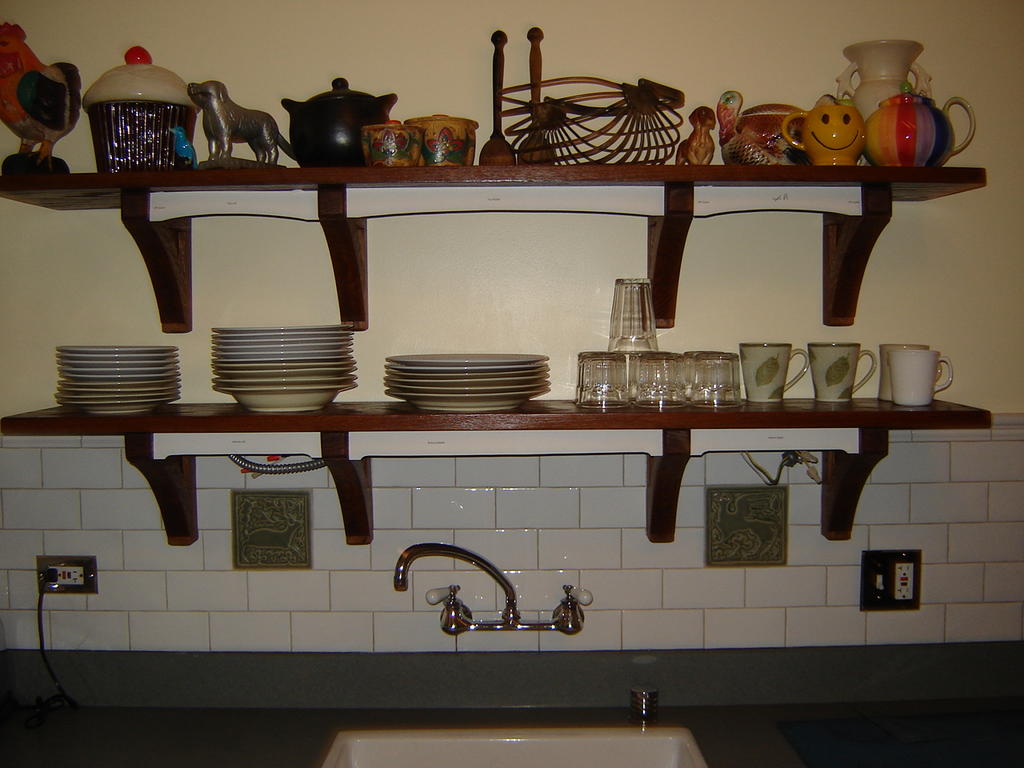
 I think I mentioned before that we were planning to add a piece of trim between the brackets to obscure the under shelf lights we will have.
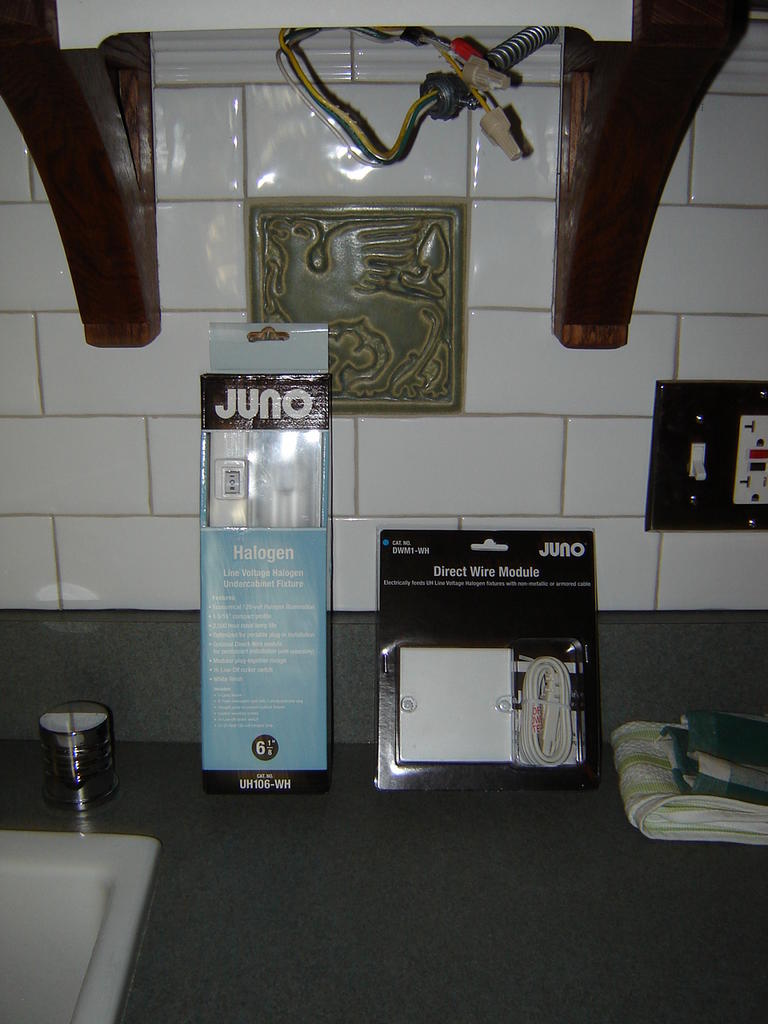
Saturday, we rode our bikes over to the local lighting store, Marshall Electric and we were lucky to find some small slimline lights that will work between the brackets. We are putting in two 6" lights. The wiring is already there, we just need to connect them.
Steve worked on making templates for the trim pieces on Saturday, while I was digging in the yard.
Here's his process for making a template: First he takes measurements and then draws the pieces out on the computer using Illustrator. Then, he prints them out and spray mounts them to posterboard for rigidity. He then places them in position and they usually need adjusting because 1/16" gap is too much. They must fit precisely and a template is the best way to accomplish this.
After the template is completed, Steve will spray mount it to the piece of wood he is cutting, and cut outside the lines using a bandsaw. After that, he sands it to fit perfectly.
This time Steve made two templates as we were considering two different designs for the trim pieces.
 We selected the arched one as we think it goes better with the design of the brackets.
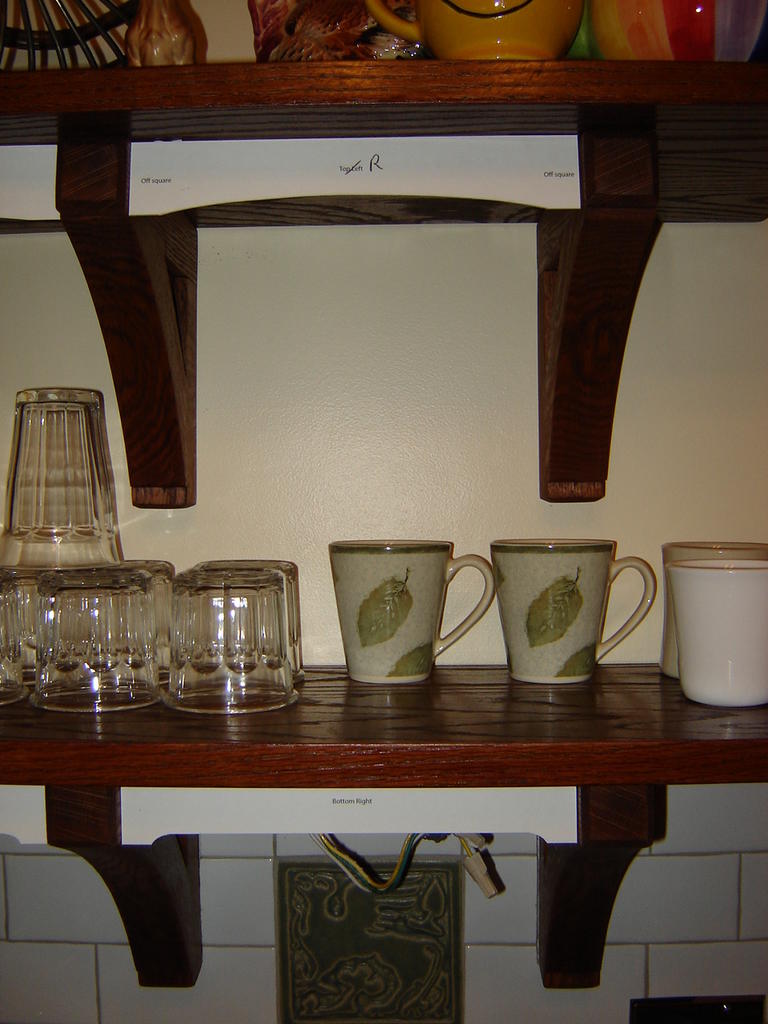
The push is for us to wrap up the lights and trim on the shelving before my Dad comes over 8/6. I think we can swing it. Steve will have to go to the Lincoln Park woodshop, since ours is out of commission.
I took a break from stripping this weekend and today was over 100 degrees out so we went to the lake for a swim. It felt good to do nothing for a change...
2 comments:
I vote for the arched one as well- it looks beautiful!
I can see how the templates are handy, since you're not doing the woodwork on site. I usually cut the piece a little larger, then scribe it in place to get a tight fit.
Post a Comment